What this is: A 13-item checklist for undoing everything you added to your kitchen before your move-out inspection, so your deposit actually comes back.
Who it’s for: You, if you’re staring down a move-out date and suddenly remembering all the contact paper and hardware you swapped two years ago.
Why read it: Because I’ve done this exact walkthrough of my own kitchen more than once, and there’s always one thing I almost forget.
Okay so real talk, this is the part of renting that nobody warns you about when they’re telling you to go decorate your kitchen.
You do all this fun stuff — swap the hardware, add a peel and stick backsplash, line the cabinets — and then move-out day sneaks up on you and suddenly you’re standing in your kitchen going “wait, what did I even do to this room two years ago.”
I’ve been there, more than once honestly. So I put together this move out cleaning checklist specifically for the kitchen, since its genuinely the room that costs renters the most at move-out (more on that in a sec).
Work through it a few weeks before your final walkthrough, not the night before, and you’ll actually have time to fix anything that needs fixing.
Take Photos Before You Undo Anything
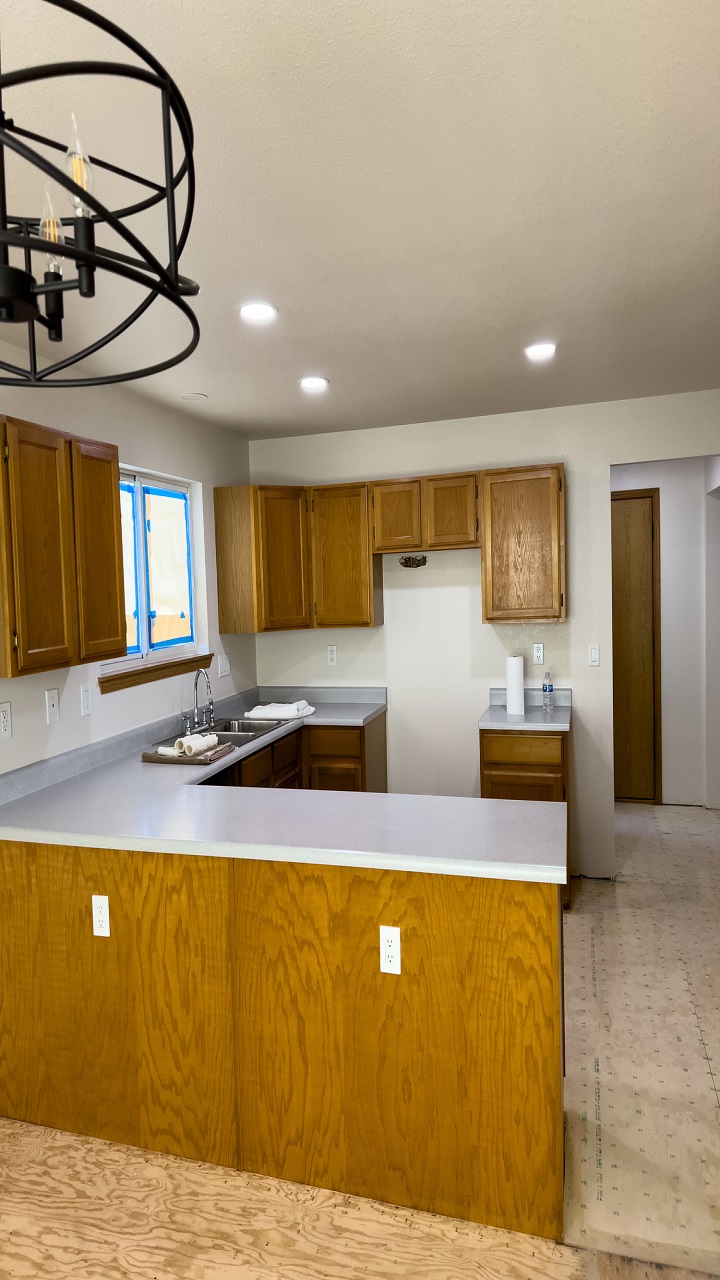
This is step one and I promise its worth doing even though it feels backwards.
Before you start removing stuff, walk through your kitchen and photograph everything — the hardware you added, the backsplash, the contact paper, all of it.
This isn’t for your landlord, its for you. If a dispute ever comes up about what was original versus what you added, you’ll have your own record instead of just trying to remember.
Remove Every Peel-and-Stick Product You Added
Contact paper, peel and stick backsplash, any removable wallpaper you put up — all of it needs to come off, and its way easier if you do it methodically instead of yanking at a corner and hoping.
Warm the edges with a hairdryer if anything’s being stubborn, and go slow. Rushing this step is exactly how you end up pulling paint off with it, which turns a five-minute removal into an actual repair job.
Reinstall the Original Cabinet Hardware
If you swapped your knobs or pulls (and I really hope you kept the originals in a labeled bag like I always tell people to), now’s the time to put them back.
This one’s genuinely quick, just a screwdriver and maybe twenty minutes for a whole kitchen. Its also the kind of thing that’s really obvious if you forget it, so don’t leave it for the morning of your walkthrough.
Degrease the Oven Inside and Out
I’m not gonna sugarcoat this one, its everybody’s least favorite job, but it might be the single most important thing on this whole list.
A dirty oven or stovetop is consistently the single most common cleaning-related deduction landlords make, way more than almost anything else in the kitchen. Baked-on grease inside the oven basically never gets missed during an inspection. Give yourself a whole afternoon for this one, a good oven cleaner or a baking soda paste, and don’t rush it.
Degrease the Range Hood and Check the Drip Plates
The range hood is one of those spots people just totally forget exists until move-out day.
Range hoods with lights and fans should be fully degreased, and any drip plates that are excessively burned or rusted may need to be replaced before your inspection.
A quick check here now saves you a surprise charge later — replacement drip plates are cheap if you catch it early, way less fun if your landlord catches it first.
Clean and Degrease Countertops and Backsplash
Your counters and the wall behind your stove take way more daily abuse than you probably think about, and grease builds up slow enough that you don’t notice it happening.
Countertops and the backsplash both need a proper degreasing pass, not just a regular wipe-down.
If you added a peel-and-stick backsplash and already removed it (see above), give the original surface underneath its own separate cleaning too.
Empty and Defrost the Freezer, Clean the Fridge Shelves
This one takes actual planning because you can’t do it the same day you’re using your fridge for dinner.
Empty everything out, pull the shelves and drawers if they come out, and give them a real wash. If your freezer’s got any ice buildup, defrost it a couple days ahead of time rather than trying to chip at it the morning of your walkthrough — trust me on this one.
Wipe Down Cabinet Interiors and Check the Hardware
Open every single cabinet and drawer, not just the ones you actually used regularly.
Inspectors specifically check hinges, handles, tracks, and interior surfaces for water damage, grease buildup, and broken hardware — stuff that’s really easy to miss if you’re only cleaning the parts you look at every day.
Wipe down the interiors, and if anything’s loose or broken, now’s the time to fix it or flag it, not after the walkthrough.
Clean the Sink, Faucet, and Garbage Disposal
The sink area gets a weirdly small amount of attention considering how much it’s actually used.
Scrub around the faucet base where grime tends to collect, clear the disposal if you’ve got one, and check for any water spots or mineral buildup around the drain.
If you swapped your faucet at any point, this is also your reminder to reinstall the original.
Check Behind and Under the Fridge and Stove
This is the step everyone forgets because, I mean, why would you ever look back there normally?
Pull both appliances out if you can manage it (or at least reach behind with a broom or vacuum attachment) and clean up whatever’s collected back there.
Inspectors genuinely check these hidden spots, and it’s usually way grosser back there than you’d expect after a couple years.
Patch Any Nail or Screw Holes You Made
If you hung anything with actual nails or screws instead of sticking to renter-friendly hanging strips, this is where that catches up with you.
A small tube of spackle and a matching touch-up if you know your wall color handles this in about twenty minutes. Do it a few days before your walkthrough so it has time to fully dry and you can smooth it out properly if needed.
Re-Caulk Anything You Touched
If you added or removed anything near the sink or backsplash that involved caulk — a removable panel, a sealed edge on contact paper, whatever — check that line before your walkthrough.
A cracked or discolored caulk line reads as neglect even if the actual issue is minor, so a quick fresh bead here is such an easy win for how little it costs.
Do a Final Walkthrough With Your Own Checklist in Hand
Last step, and its genuinely the one that ties everything else together.
Renters who use a structured, room-by-room checklist before their final walkthrough report getting back significantly more of their security deposit compared to the ones who just wing it.
Walk your kitchen slow, one more time, checklist in hand, a few days before the actual inspection — not the same morning — so you’ve still got time to fix anything you catch.
Your Kitchen, Ready for Its Walkthrough
Here’s the thing I want you to remember: everything you did to make your kitchen feel like yours was genuinely worth it, and undoing it doesn’t have to be stressful if you give yourself enough time.
Work through this list a few weeks out, not the night before, and you’ll walk into that inspection actually feeling confident instead of scrambling.
You’ve got this, and your deposit is coming home with you!
